
Introduction
Furniture plays a crucial role in shaping the atmosphere of your living space. While buying pre-made furniture can be expensive, creating your own DIY pieces not only saves money but also adds a unique, personal touch to your home. Whether you’re a seasoned DIY enthusiast or a beginner, there are plenty of simple and creative furniture ideas that can transform your living space. In this blog, we’ll explore several DIY furniture ideas that are easy to make, stylish, and completely customizable.
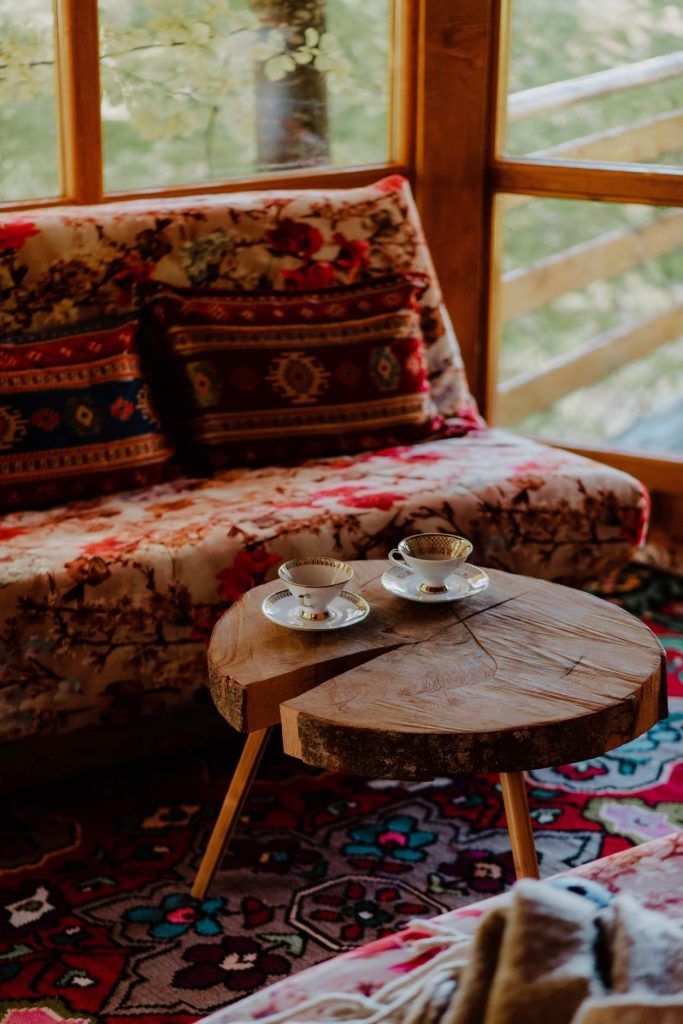
1. Rustic Wooden Coffee Table
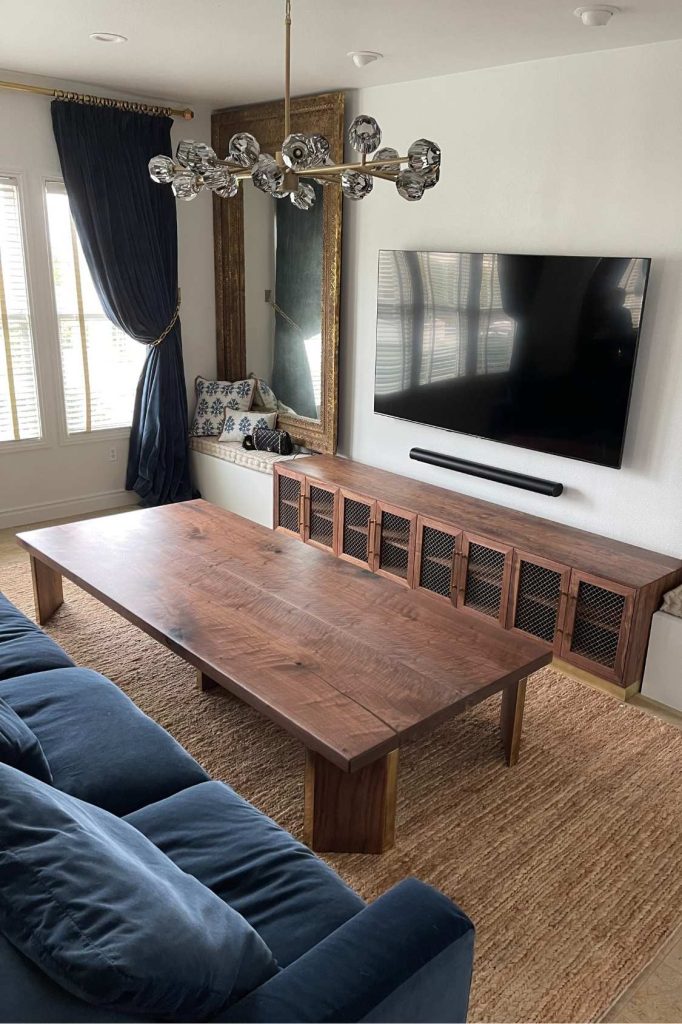
A rustic wooden coffee table can serve as a focal point in your living room, and it’s relatively simple to create with some basic materials.
- Materials Needed: Wooden pallets, sandpaper, wood stain or paint, screws, and a wooden tabletop (optional).
- Steps:
- Take two or three wooden pallets and stack them on top of each other.
- Sand them down to remove any rough edges.
- Stain or paint the pallets in your desired color.
- Attach a wooden tabletop to the top for a sleek finish, or leave it open for a more industrial look.
- Add casters to the bottom for easy mobility.
- Take two or three wooden pallets and stack them on top of each other.
Why It Works: This DIY coffee table adds rustic charm and practicality to your space. You can customize the color and style to match your home decor, and it’s an eco-friendly option using reclaimed wood.
2. Floating Wall Shelves
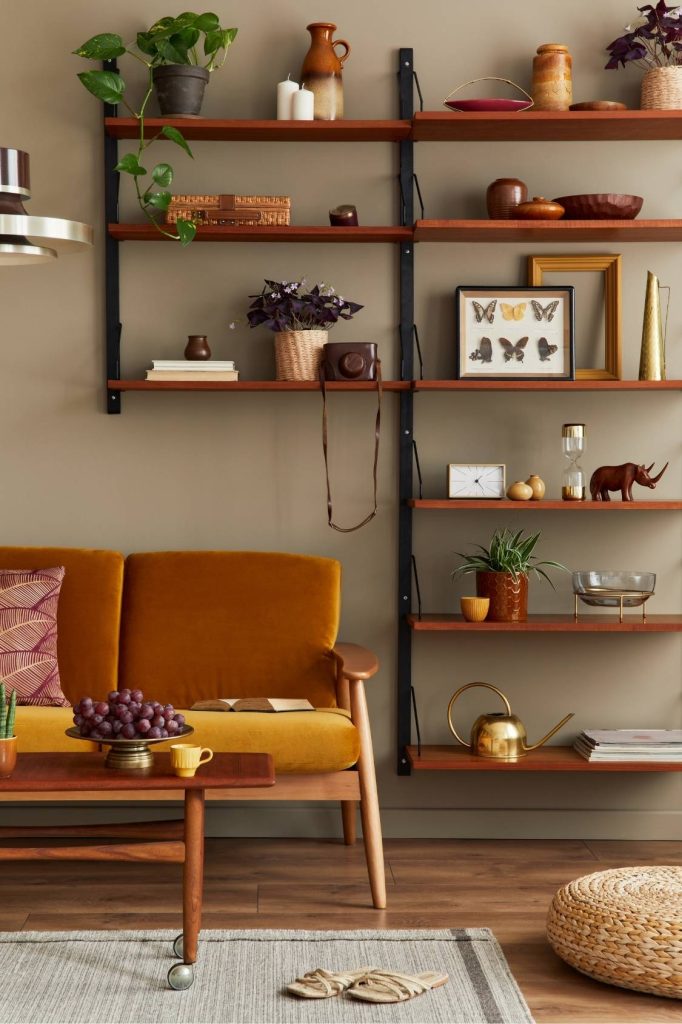
Floating shelves are perfect for small spaces where storage is a challenge. They add both function and style to your walls without taking up floor space.
- Materials Needed: Wood planks, brackets or L-shaped shelf brackets, screws, and a level.
- Steps:
- Cut the wood planks to the desired length for your shelves.
- Attach the brackets to the wall using screws.
- Place the wooden planks on the brackets and secure them with screws.
- Sand and stain the shelves for a polished look, or leave them raw for a more rustic vibe.
- Cut the wood planks to the desired length for your shelves.
Why It Works: Floating shelves give you additional storage or display space for books, plants, or decor, without overcrowding your room. They’re customizable in size and finish to fit your space perfectly.
3. Industrial Pipe Bookshelf
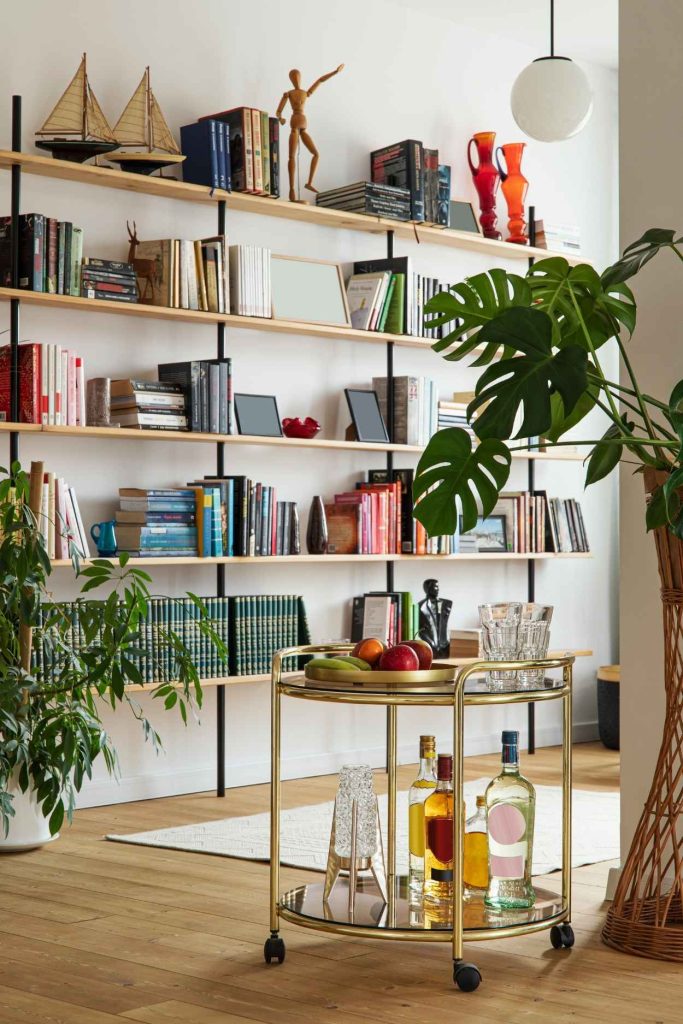
If you love the industrial look, an industrial pipe bookshelf is an excellent DIY project. It’s a perfect blend of metal and wood, adding an edgy feel to any room.
- Materials Needed: Black iron pipes (for the frame), wood planks (for shelves), pipe flanges, screws, wood stain, and a wrench.
- Steps:
- Measure and cut the wood planks for your desired shelf lengths.
- Assemble the pipe frame using the iron pipes and flanges to create vertical posts and horizontal bars.
- Attach the wooden shelves to the pipes using screws and wood brackets.
- Stain the wood to match your existing furniture or leave it in its natural state for a more raw, rustic finish.
- Measure and cut the wood planks for your desired shelf lengths.
Why It Works: This bookshelf is both functional and visually striking. It combines the modern industrial look with a traditional function, creating an eye-catching focal point in any living space.
4. Pallet Sofa
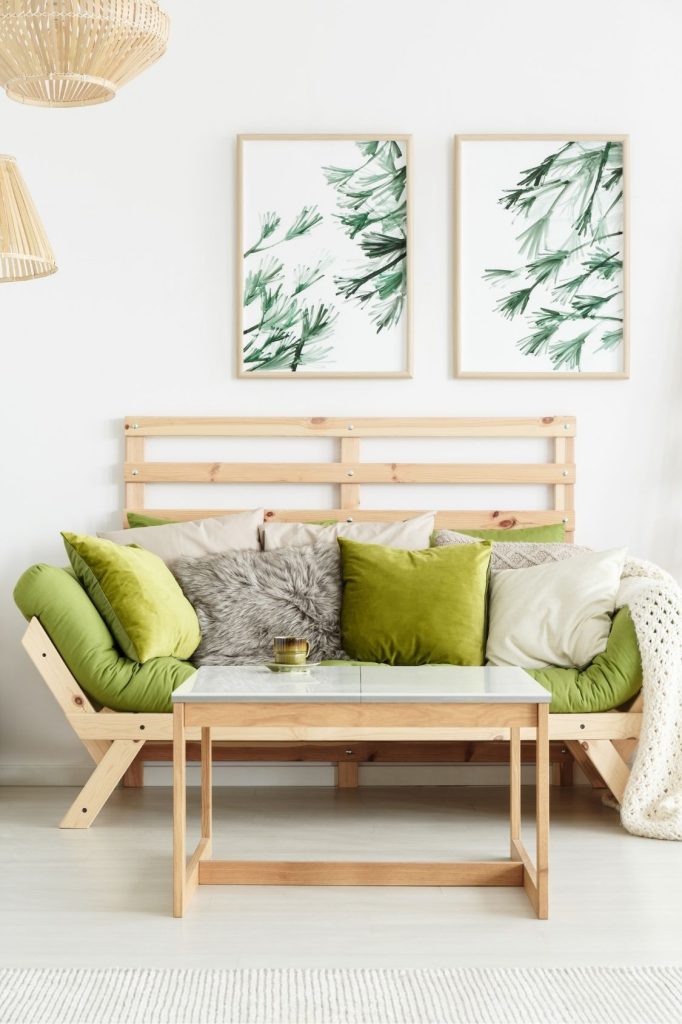
A pallet sofa is a great DIY project for a comfortable and budget-friendly seating solution, especially for larger living rooms or outdoor patios.
- Materials Needed: Wooden pallets, foam cushions, fabric, screws, wood stain or paint.
- Steps:
- Stack several wooden pallets on top of each other to form the base and backrest of the sofa.
- Attach the pallets together with screws for stability.
- Paint or stain the pallets to your desired finish.
- Cut foam cushions to fit the top of the pallet base, and cover them with fabric of your choice to create the seat cushions.
- Stack several wooden pallets on top of each other to form the base and backrest of the sofa.
Why It Works: A pallet sofa is versatile, customizable, and can be easily adjusted to any room size. It’s also a great way to repurpose old pallets and create a low-cost, stylish seating area.
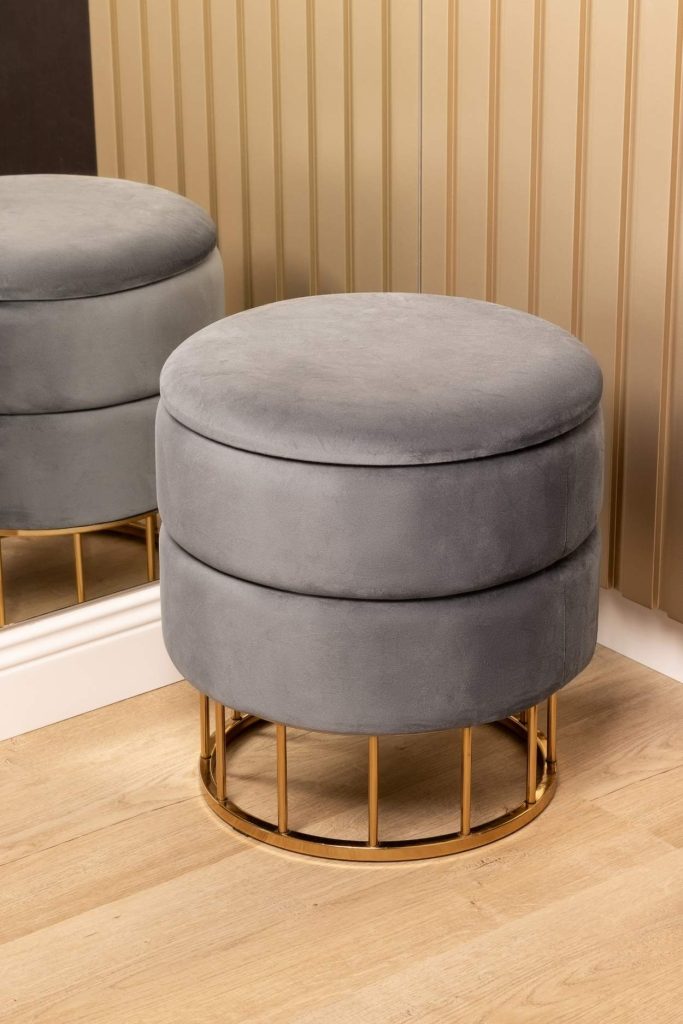
5. Upholstered Ottoman
An upholstered ottoman can be a chic addition to your living space, offering both seating and storage. Plus, you can create it yourself for a fraction of the cost of buying one.
- Materials Needed: Wooden frame (or an old coffee table), foam padding, fabric, staple gun, and screws.
- Steps:
- Start by building a simple wooden frame or repurposing an old coffee table.
- Attach foam padding to the top of the frame, ensuring it’s smooth and comfortable.
- Wrap the fabric around the foam and frame, and secure it with a staple gun.
- Add decorative nailheads or a wooden base for extra style.
- Start by building a simple wooden frame or repurposing an old coffee table.
Why It Works: Upholstered ottomans provide extra seating or serve as a footrest, and they can double as a storage unit. This DIY project allows you to select fabric and colors that match your decor, creating a custom piece.
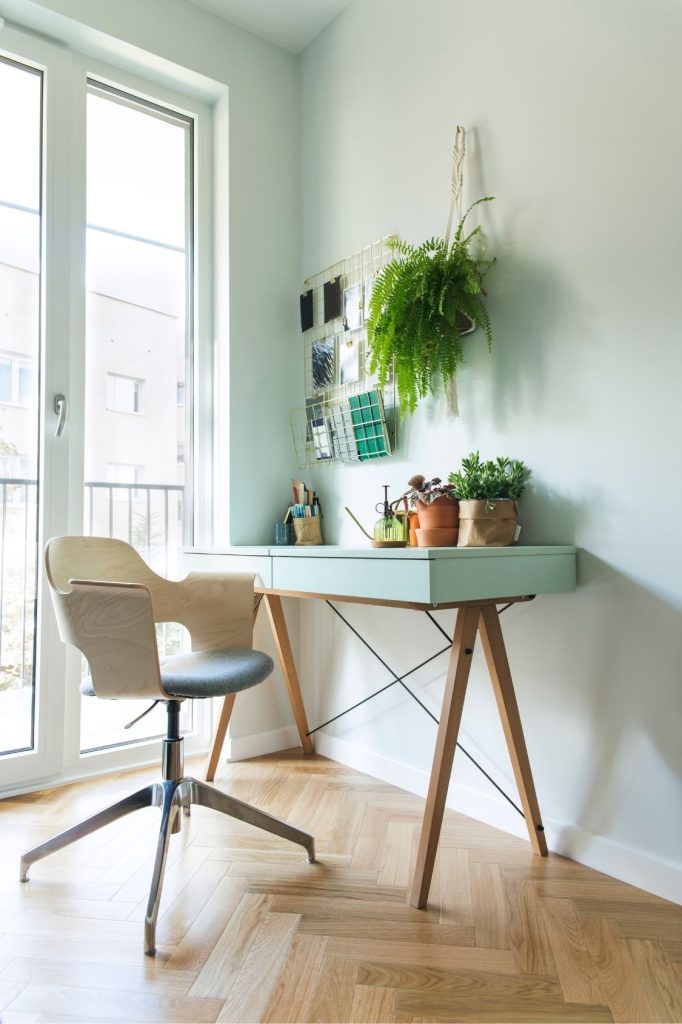
6. Floating Desk
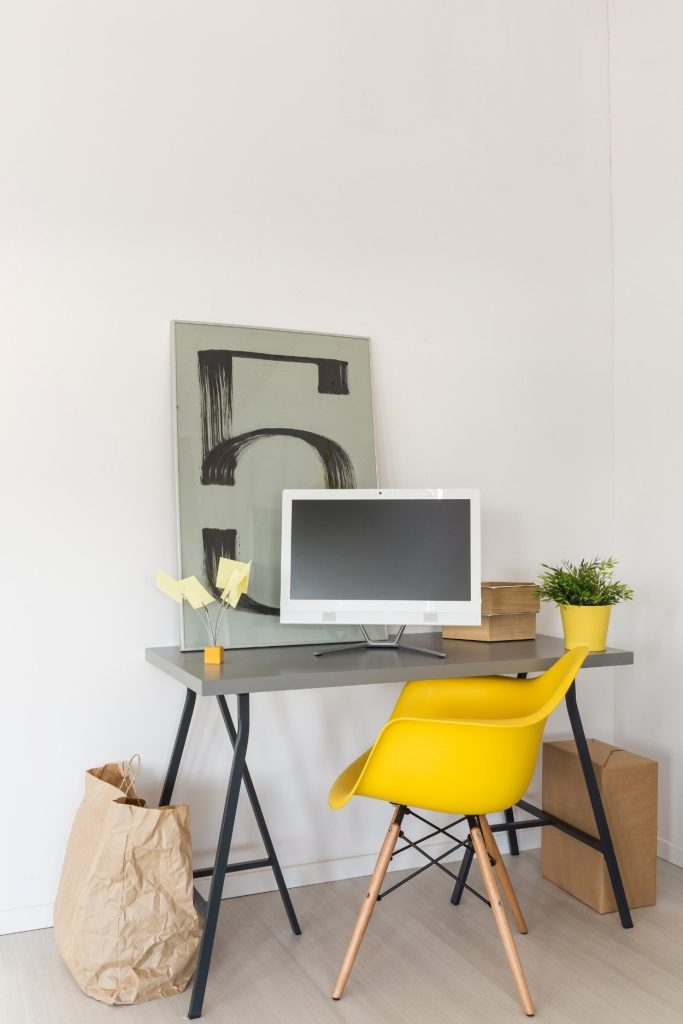
A floating desk is perfect for creating a sleek, modern home office or study nook in a small space.
- Materials Needed: Wood for the desk surface, wall brackets, screws, and a level.
- Steps:
- Measure and cut the wood to the desired desk size.
- Install wall brackets on the wall, ensuring they are level and secure.
- Attach the desk surface to the brackets and secure it with screws.
- Sand and stain the wood to your desired finish.
- Measure and cut the wood to the desired desk size.
Why It Works: A floating desk is space-saving and offers a minimalist look. It’s ideal for small living areas or home offices where you need a functional workspace without the bulk of traditional desks.
7. Recycled Ladder Bookshelf
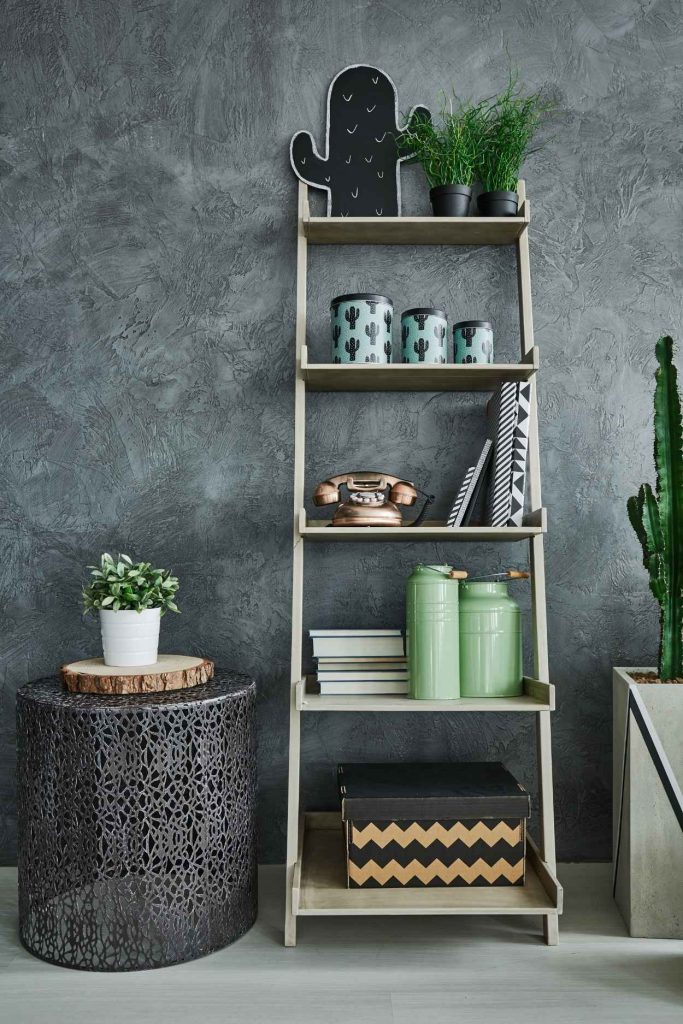
Using an old ladder to create a bookshelf is an innovative way to repurpose old furniture and give it a new life.
- Materials Needed: Wooden ladder, wood planks, screws, wood stain, and brackets.
- Steps:
- Repurpose an old wooden ladder or purchase one from a thrift store.
- Attach horizontal wooden planks to the ladder rungs to form shelves.
- Secure the ladder to the wall for added stability and safety.
- Sand and stain the wood for a polished finish.
- Repurpose an old wooden ladder or purchase one from a thrift store.
Why It Works: This DIY bookshelf is a great way to add character and storage to your living space. It’s perfect for holding books, plants, or decor and offers a rustic, vintage feel.
8. Modular Storage Bench
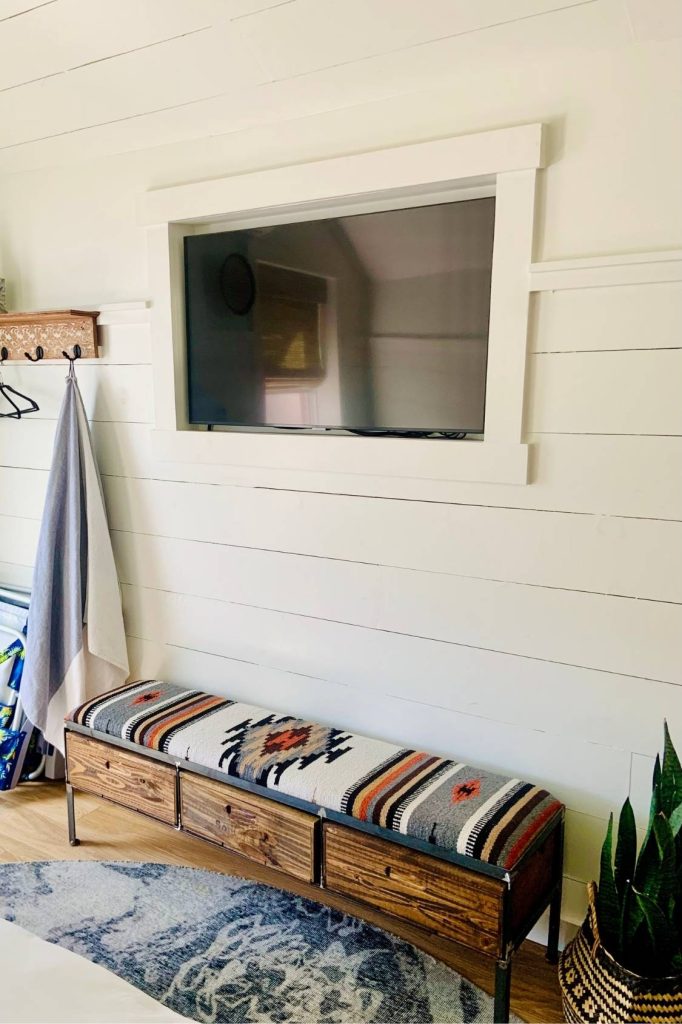
A modular storage bench combines seating with hidden storage. It’s perfect for entryways or living rooms where you need extra seating and storage.
- Materials Needed: Wood for the frame, foam cushions, fabric, hinges, screws.
- Steps:
- Build a simple wooden frame with a hinged lid for the storage compartment.
- Attach foam cushions to the top of the frame for a comfortable seating area.
- Cover the cushions with fabric of your choice, securing them with a staple gun.
- Build a simple wooden frame with a hinged lid for the storage compartment.
Why It Works: A modular storage bench serves dual purposes, adding seating and offering hidden storage for things like shoes, blankets, or toys.
9. Concrete Accent Table
A concrete accent table is a trendy, industrial piece that adds texture and modernity to your living space.
- Materials Needed: Concrete mix, mold (plastic container or a custom mold), a wooden top, and a finishing tool.
- Steps:
- Mix the concrete according to the package instructions and pour it into the mold for the base.
- Once the concrete has set, remove it from the mold and attach a wooden top.
- Sand and finish the surface for a smooth look.
- Mix the concrete according to the package instructions and pour it into the mold for the base.
Why It Works: Concrete tables are sturdy and provide an industrial look, making them perfect for contemporary or modern home interiors.
10. Stylish Ladder Desk
A ladder desk is a unique and functional piece that can be used for both work and display purposes.
- Materials Needed: Wood for the ladder frame, shelves, screws, wood stain or paint.
- Steps:
- Create a ladder-style frame by cutting wood into pieces for the vertical and horizontal sections.
- Attach the shelves at various heights, depending on your needs.
- Paint or stain the ladder and shelves to match your decor.
- Create a ladder-style frame by cutting wood into pieces for the vertical and horizontal sections.
Why It Works: A ladder desk adds a stylish, space-saving solution to your home office or study area, offering a compact yet functional workspace.
11. Pallet Bed Frame
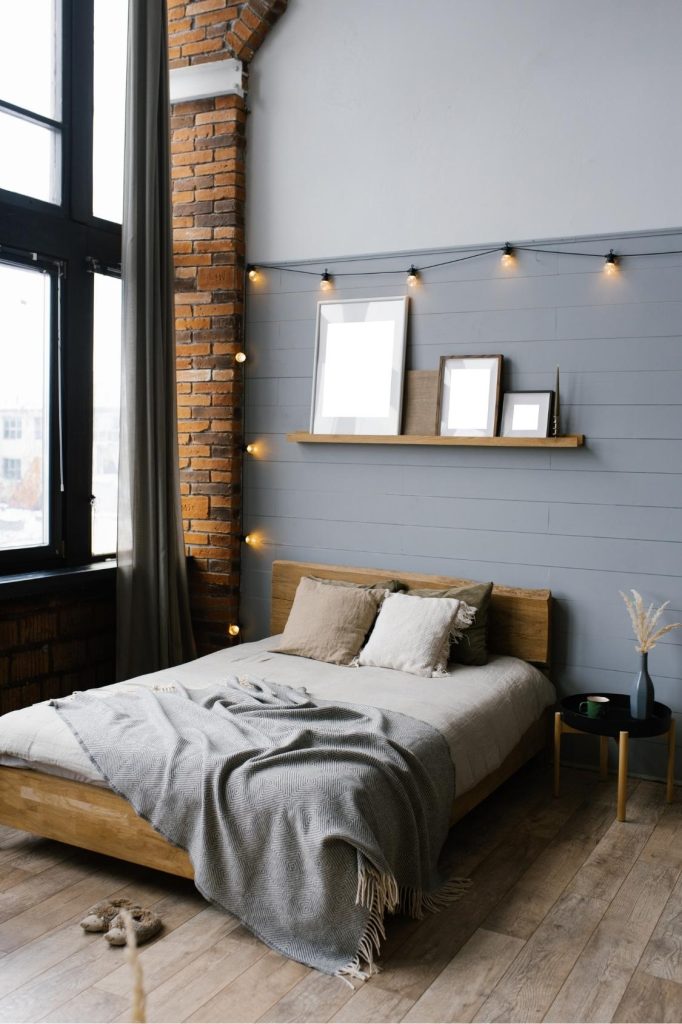
A pallet bed frame is a stylish, cost-effective way to create a custom bed without spending a lot of money. Using wooden pallets not only gives a rustic look but also helps you save on expensive frame options.
- Materials Needed: Wooden pallets, screws, wood stain or paint, a mattress.
- Steps:
- Collect enough wooden pallets to match the size of your bed frame (usually around 6-8 pallets for a standard double bed).
- Sand the pallets to remove any splinters and rough edges.
- Stack the pallets to your desired height, creating a sturdy base for the mattress.
- Secure the pallets together with screws to ensure they stay in place.
- Optionally, stain or paint the wood for a polished finish.
- Collect enough wooden pallets to match the size of your bed frame (usually around 6-8 pallets for a standard double bed).
Why It Works: This DIY bed frame creates a rustic, industrial look while being affordable. It’s an easy project that gives you a lot of freedom in customization, allowing you to choose finishes that fit your decor.
12. Upholstered Headboard
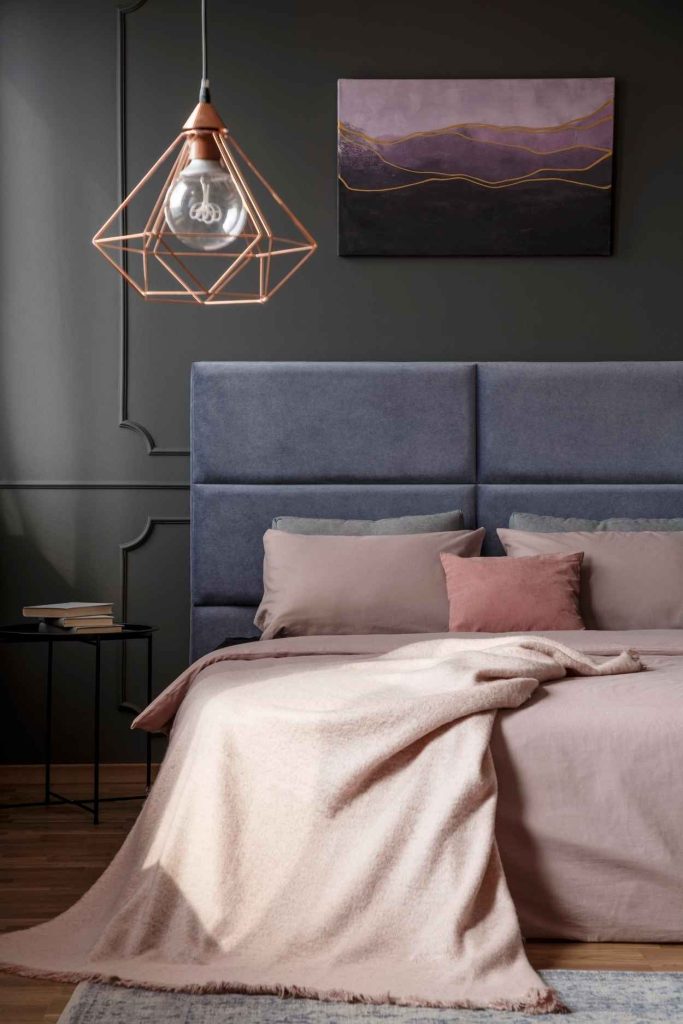
An upholstered headboard adds a touch of luxury and comfort to your bedroom without the expensive price tag of store-bought options.
- Materials Needed: Plywood, foam padding, fabric (velvet, linen, or any desired fabric), staple gun, screws.
- Steps:
- Cut the plywood to your desired headboard size.
- Attach foam padding to the plywood, ensuring it’s secured tightly.
- Stretch your fabric over the foam and staple it securely to the back of the plywood.
- Attach the finished headboard to your bed frame using screws or brackets.
- Add decorative accents like tufting or nailhead trim for an added luxurious touch.
- Cut the plywood to your desired headboard size.
Why It Works: An upholstered headboard can make your bed feel more high-end and comfortable, and the fabric options allow for personalization to fit any bedroom theme.
13. Rolling Bar Cart
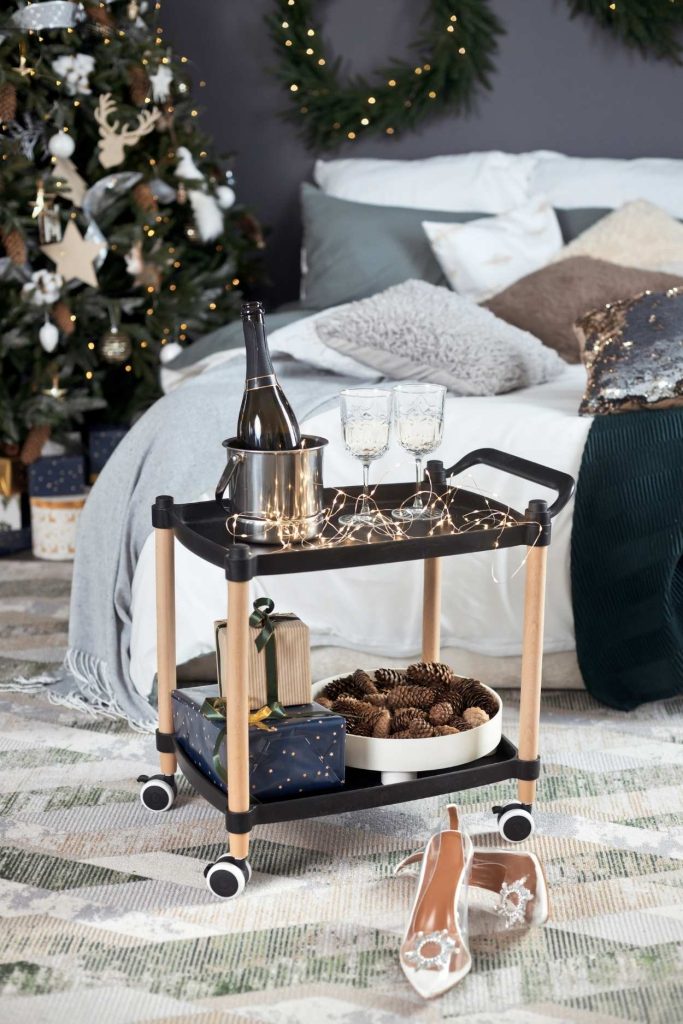
A rolling bar cart adds both style and functionality to any living space, making it perfect for entertaining guests or storing beverages.
- Materials Needed: A sturdy wooden or metal cart frame, caster wheels, wood for the shelves, screws, paint or stain, decorative handles (optional).
- Steps:
- Create or repurpose a cart frame. If building from scratch, assemble the frame using wood or metal. Install caster wheels for mobility.
- Cut and add wood shelves to the cart, ensuring they fit securely.
- Sand and paint the frame and shelves to match your decor, or use a distressed wood finish for a rustic vibe.
- Optionally, add decorative handles for ease of movement and extra flair.
- Create or repurpose a cart frame. If building from scratch, assemble the frame using wood or metal. Install caster wheels for mobility.
Why It Works: A rolling bar cart is functional for both small and large spaces, and its mobility allows you to move it from room to room. It’s a simple DIY project that adds a touch of sophistication to your home and makes entertaining easier.
14. DIY Storage Ottoman with Hidden Compartments
A storage ottoman is a multi-functional piece that provides extra seating and storage. Adding hidden compartments makes it even more practical, perfect for storing blankets, magazines, or other household items.
- Materials Needed: Plywood, foam, fabric, hinges, screws, staple gun, wood for the base.
- Steps:
- Build a rectangular or square wooden frame for the base using plywood, ensuring it’s sturdy enough to hold weight.
- Add foam to the top of the frame and cover it with fabric using a staple gun. Secure tightly to avoid any wrinkles or sagging.
- Attach the top to the base with hinges, so it can open to reveal the storage compartment inside.
- Optionally, add decorative legs or a base to lift the ottoman off the floor.
- Build a rectangular or square wooden frame for the base using plywood, ensuring it’s sturdy enough to hold weight.
Why It Works: This ottoman is an excellent choice for living rooms or bedrooms, offering dual functionality as a seat and hidden storage. It’s a space-saving solution that blends form and function beautifully.
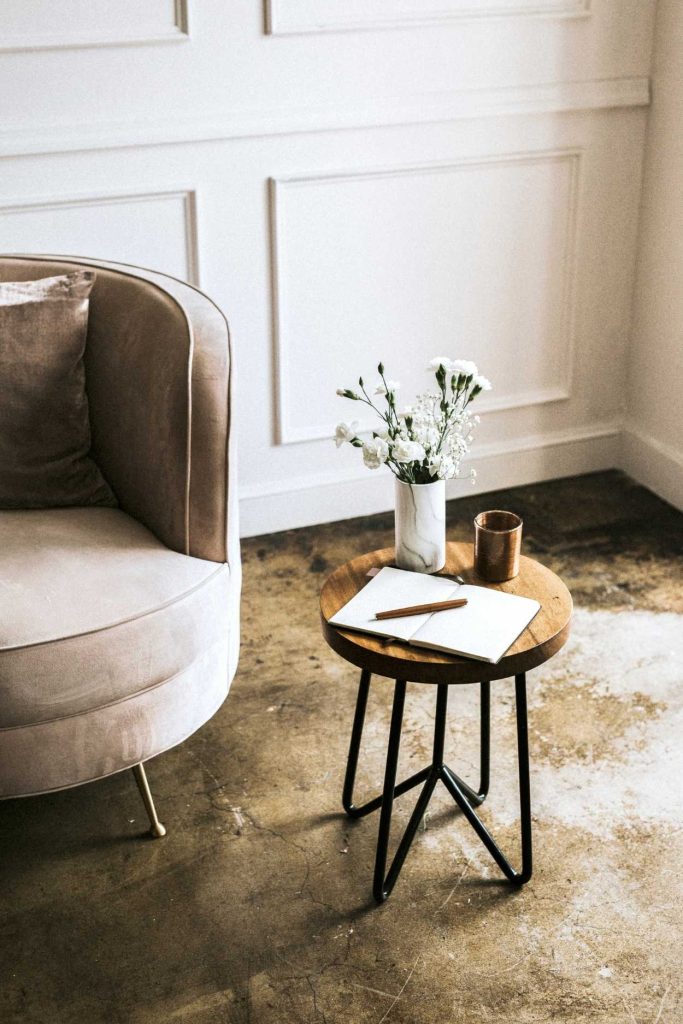
15. Concrete Side Table
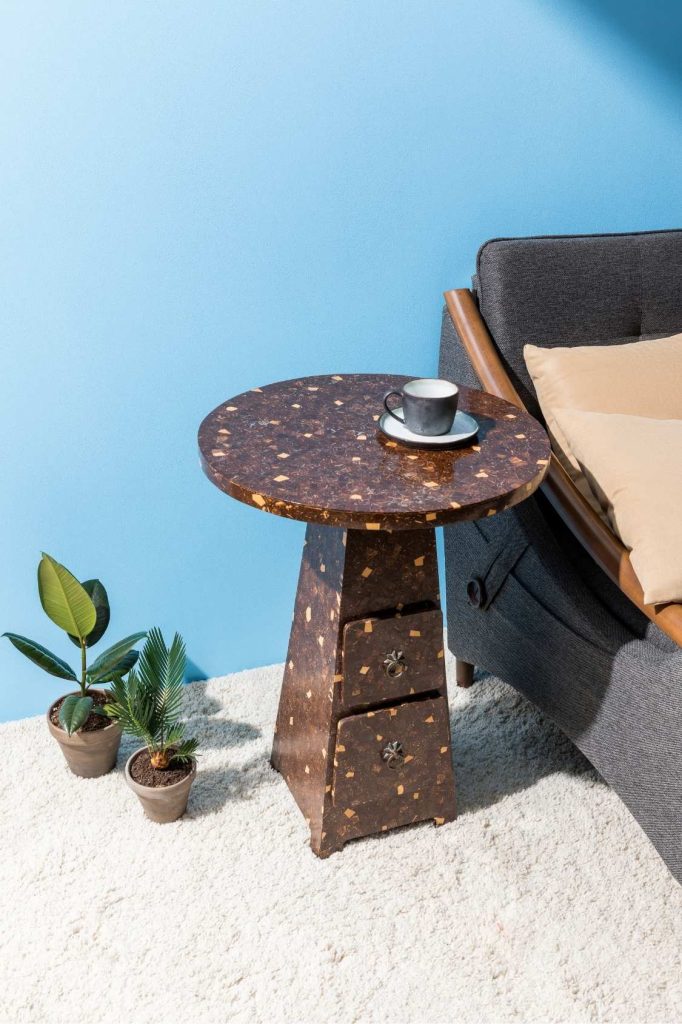
For a modern, industrial touch, consider building a concrete side table. Concrete is inexpensive and can be molded into various shapes and sizes, offering versatility and durability.
- Materials Needed: Concrete mix, a mold (plastic container or custom mold), wood or metal base, finishing tool, sandpaper.
- Steps:
- Mix the concrete according to the manufacturer’s instructions and pour it into a mold to form the table base. You can use a plastic container or create a custom mold for a specific shape.
- After the concrete has set (usually 24-48 hours), remove it from the mold and sand down any rough edges.
- Attach a wooden or metal base to the concrete slab using screws or adhesive to make the table more stable.
- Optionally, paint or seal the concrete for a smooth finish and to protect it from stains.
- Mix the concrete according to the manufacturer’s instructions and pour it into a mold to form the table base. You can use a plastic container or create a custom mold for a specific shape.
Why It Works: A concrete side table adds a bold, modern look to your space. Its weight and durability make it ideal for both indoor and outdoor use, and the customization options for the mold allow for creativity in design.
Conclusion
DIY furniture projects offer a fantastic way to create custom, stylish pieces for your living space without breaking the bank. Whether you’re repurposing old materials, building from scratch, or adding a personal touch to your furniture, these DIY furniture ideas will help you design a home that reflects your unique style while keeping costs low. So gather your materials, roll up your sleeves, and start building your dream furniture today!
Leave a Reply